
GM, COT❣️ Yuzunoko here.
When laying out costume pattern pieces on fabric, have you ever thought that tilting them just a bit might make them fit?
Woven fabric made of warp and weft threads has a distinct direction along which the threads run. Because the same fabric stretches differently depending on the direction, whether a pattern piece physically fits on the cloth and whether it is aligned in the specified direction are two things to check separately.
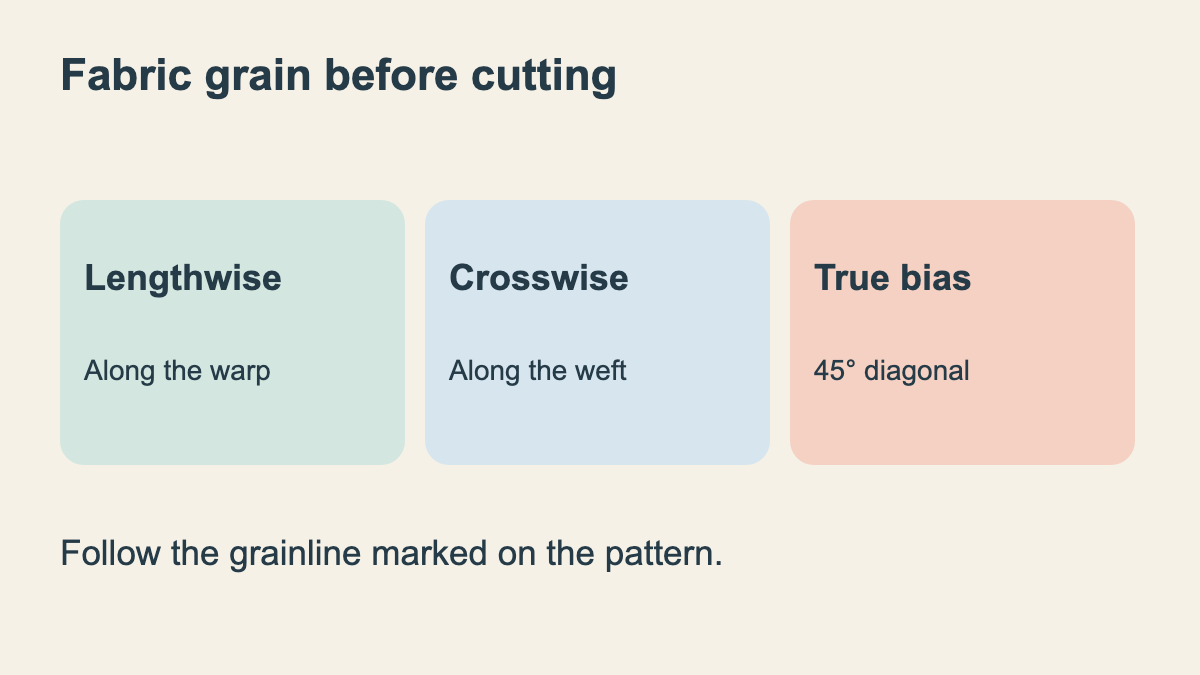
In this guide, we will look at the lengthwise grain, crosswise grain, and bias of woven fabrics, along with checks to perform before cutting. This is not about assuming knit or stretch fabrics share the exact same characteristics.
Lengthwise and Crosswise Are Not Determined by How You Place the Fabric
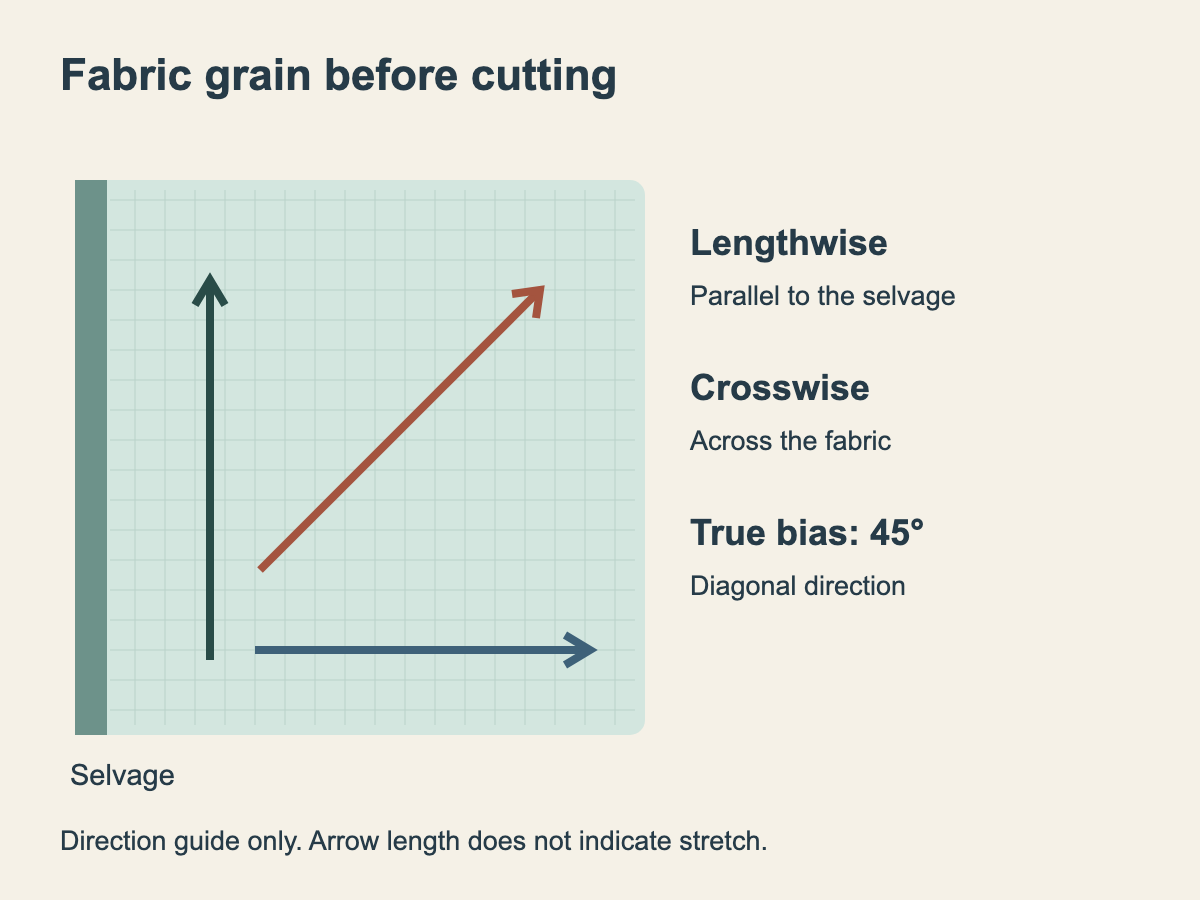
The lengthwise grain follows the warp threads, and the crosswise grain follows the weft threads. In Clover's fabric preparation diagram, the direction parallel to the "selvage" at both edges of the fabric width is the lengthwise grain, while the direction intersecting it at a right angle is the crosswise grain.
Rotating the fabric on your cutting table does not change the direction of its threads. Just because a piece looks vertically oriented in front of you does not make it the true "lengthwise" grain.
The fabric fold, often referred to as wa, is also distinct from the selvage. Clover explains wa as the folded edge of the fabric. Be sure not to confuse cut edges, selvages, and folded edges as if they were the same thing.
The Diagonal Bias Is a Direction That Utilizes Stretch
According to nunocoto's explanation, the lengthwise grain tends to resist stretching, while the crosswise grain stretches more readily than the lengthwise grain. A 45-degree angle relative to the lengthwise grain is called the "true bias," and it is introduced as the direction that stretches most easily.
This is a fundamental principle for understanding directional differences. We do not assume that "lengthwise fabric will never stretch under any circumstances" or that "a diagonal cut will always stretch by an exact percentage" across every single fabric.
Cutting on the diagonal is not inherently an error either. Brother explains that the elasticity of bias tape can be utilized to bind curved edges smoothly. There are specific cases where this diagonal direction is chosen deliberately to achieve a desired shape.
(If you simply memorize that cutting diagonally is always forbidden, you would run into trouble with bias tape.)
Look at the Grainline Inside the Pattern, Not Just Its Outline
In Brother's "Fabric Basics," it is explained that the grainline drawn on the pattern should be aligned with the lengthwise grain of the fabric. It also notes that fabric wrinkles should be smoothed out beforehand, as they can cause distortion.
What you need to check is the grainline drawn inside the pattern piece itself. You should not judge orientation based on the pattern's outer curves or its longest edge.
Even when making cosplay costumes, check that line before turning a pattern piece simply to squeeze it into an open gap. If a pattern piece has a specific instruction such as an intentional bias cut, always prioritize that specific direction and its assembly method over arbitrary rotation.
Check the Right and Wrong Sides and Pattern Direction Before Cutting
Once you align the grainline, make sure the side facing outward is consistent as well. Brother cautions that all pieces should be cut with a designated side treated as the right side, unifying the finished surface appearance.
They also introduce a technique of marking the same side if it is difficult to distinguish the right side from the wrong side. However, be sure to choose marking tools suited to your fabric, and verify that markings will not remain visible on the finished exterior of your project.
When making costumes, this article suggests the following sequence of checks:
- Read the grainline and cutting direction specifications indicated on the pattern and in the instructions.
- Check the fabric selvage and thread orientation, and align the pattern grainlines accordingly.
- Compare the designated right side as well as print directions or nap.
- Review the layout of all pattern pieces before you begin cutting.
This is a checklist suggested by this article to reduce missed details, not a procedure shared by all manufacturers. Even if you run short on fabric, it does not mean you can freely alter the grain orientation of only certain required pieces.
(Before cutting, you can still rearrange them.)
About this article
Translated from the Japanese original. Quotes from Japanese sources are our own translations.
This article summarizes woven fabric grain directions and pre-cutting verification based on published materials from Clover, Brother, and nunocoto. We have not conducted stretch rate measurements of fabrics or comparative testing on completed costumes.
Fabric preparation methods such as pre-washing or steaming involve different conditions depending on the fiber content and finishes. We do not specify uniform pre-washing steps or iron temperatures here; please consult the care instructions for your purchased fabric and your pattern guidelines.
When deciding where to place cute patterns or prints, be sure to check the direction of the underlying threads as well.
See you next time on COT❣️
Sources: Before Starting Sewing - Fabric Preparation (Clover) (Japanese), Fabric Basics (Direction, Width, Distinguishing Right from Wrong Side) (Brother Sewing Oasis) (Japanese), How to Make Bias Tape (Brother Sewing Oasis) (Japanese), Learn Fabric Direction, Top/Bottom and Left/Right (Lengthwise/Crosswise) (nunocoto) (Japanese)