
GM, COT❣️ Yuzunoko here.
Have you ever shot cosplay in harsh backlighting or a dim studio, only to find your subject's face plunged into darkness or completely blown out?
When taking a photo, your camera relies on "metering modes" to decide which parts of the frame to evaluate when setting the overall exposure. While default settings work wonderfully for everyday snapshots, cosplay photography often introduces extreme contrast between backdrops, elaborate costumes, and skin tones.
In this guide, based on official resources from Canon, Sony, and Nikon, we break down how three common metering modes work and how to choose the right one for your shoot location.
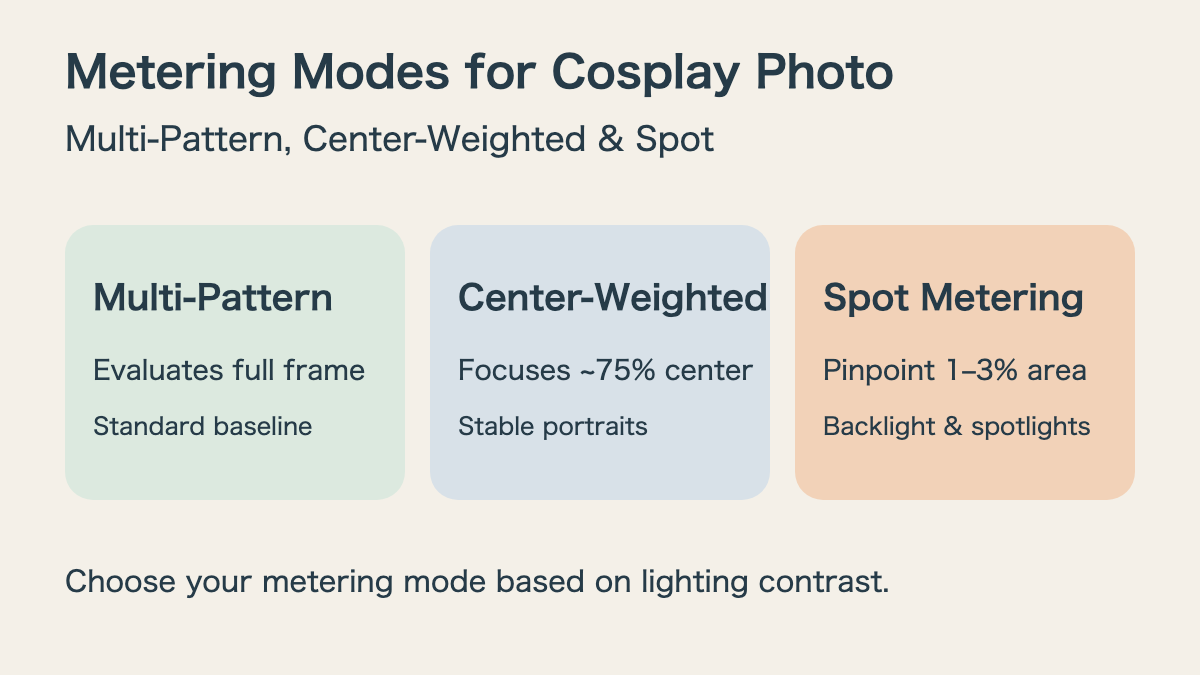
Multi-Pattern Metering: Balanced Brightness Across the Entire Frame
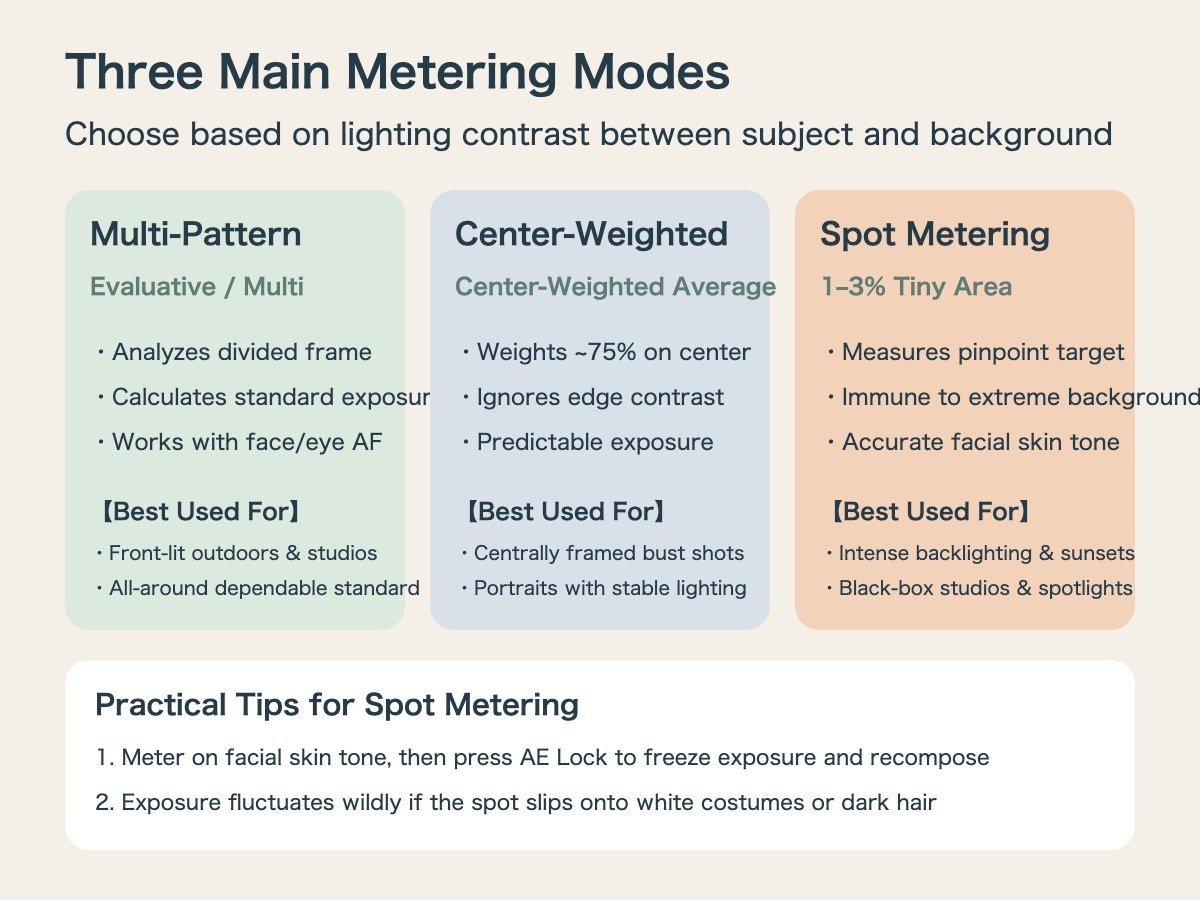
The default mode on most cameras divides the entire scene into multiple zones to measure light. Canon terms it Evaluative Metering, Sony refers to it as Multi Metering, and Nikon calls this Multi-Pattern Metering.
In this mode, the camera analyzes overall brightness, colors, and subject positioning across the frame to calculate a well-balanced exposure automatically.
For standard shooting conditions—such as front-lit outdoor events or evenly illuminated bright studios—sticking with this mode yields dependable results.
Many recent mirrorless cameras even coordinate with face detection, such as Sony's "Face Priority in Multi Metering" or Nikon's face detection option, to adjust exposure around human faces automatically. We recommend treating multi-pattern metering as your default starting point, switching to other modes only when you need a different look.
Center-Weighted Metering: Prioritizing Your Central Subject
Center-Weighted Metering (called Center-weighted Average Metering by Canon) places heavy emphasis—often around 75% on Nikon bodies—on the middle of the frame while still factoring in surrounding light.
Its greatest strength is resisting bright light sources or heavy shadows lingering along the outer edges. This makes it much easier to keep exposure consistent for center-composed portraits, such as waist-up or standing shots.
(Knowing your camera is laser-focused on the center definitely saves you from playing the exposure guessing game!)
When multi-pattern metering causes brightness to jump around every time you slightly reframe, center-weighted metering keeps the metering area fixed so you stay in total creative control.
Spot Metering: Pinpointing a Tiny Target
Spot Metering measures brightness across only a tiny portion of the frame—usually just 1% to 3% (about 2.9% on Canon's EOS R6, or roughly 1.5% on Nikon's Z 8).
This mode truly shines in scenes with extreme contrast between light and shadow.
Think of standing by a window or facing intense sunset backlighting where the face falls into deep shadow. Or picture a black-box studio or night event where only the cosplayer is illuminated by a piercing spotlight.
By placing the spot directly on skin tones, you can nail the facial exposure precisely without letting dramatic backgrounds throw off the reading.
Tips and Traps When Using Spot Metering
While spot metering is powerful, it is also sensitive: shifting your focus point by just a few millimeters can completely change the exposure.
If your spot accidentally drifts from skin onto a white costume or dark wig, the camera will overreact by dramatically darkening or blowing out the entire image.
Whenever a cosplayer changes poses or shifts position, keeping that tiny spot locked in place becomes tricky.
In such situations, you can press the AE Lock button to freeze exposure once you meter your target, or simply use exposure compensation (+/-) as covered in our previous article for a quicker fix.
About This Guide
This guide summarized how camera metering modes work and when to use them, drawing from official technical resources and manuals by Canon, Sony, and Nikon.
During an actual shoot, start with the default multi-pattern metering, then switch to center-weighted, spot metering, or exposure compensation whenever you notice shadowed faces or extreme backgrounds.
(Of course, spending half your studio rental fiddling with camera dials every time the lighting changes is part of the fun!)
Here's to capturing stunning cosplay photos with lighting and exposure that bring out every character's true charm!
See you next time on COT❣️
Sources: Metering Photography Glossary (Canon) (Japanese), EOS R6 Product Manual Selecting Metering Mode (Canon) (Japanese), ILCE-7M5 Help Guide Metering Mode (Still / Movie) (Sony) (Japanese), Z 8 Reference Guide Metering (Nikon) (Japanese), Z50II Reference Guide b4 Face Detection in Matrix Metering (Nikon) (Japanese)
Quotes from Japanese sources are our own translations. Translated from the Japanese original.