
GM, COT❣️ Yuzunoko here.
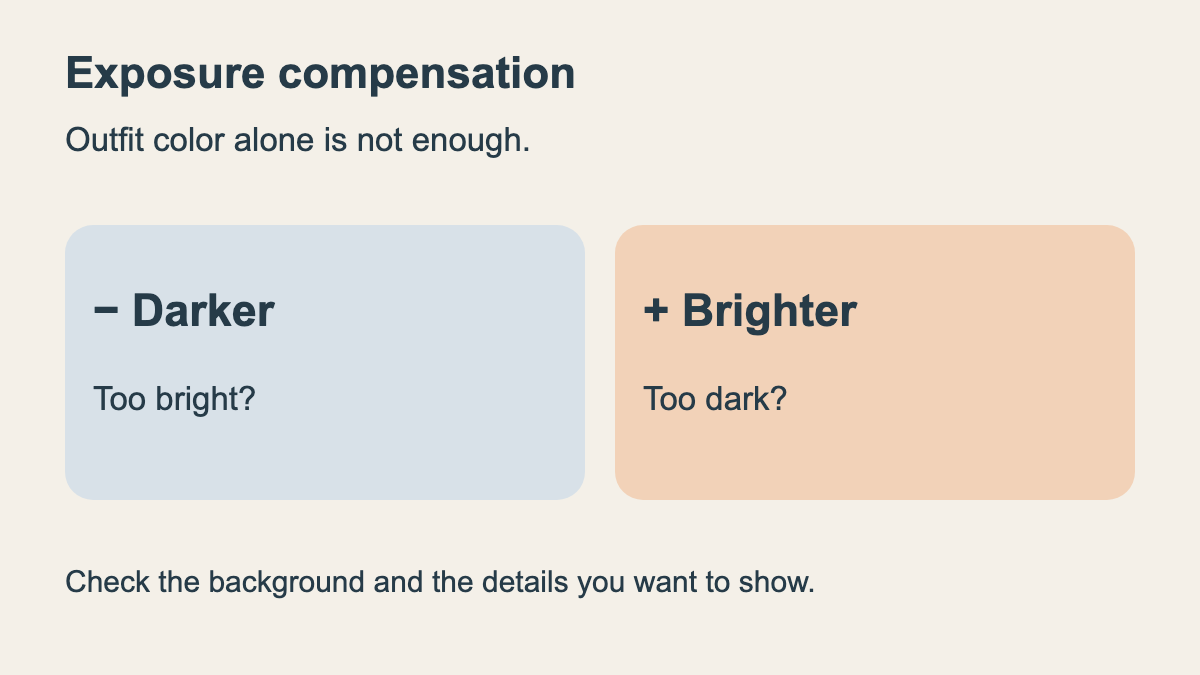
Have you memorized exposure compensation as a simple rule: dial positive for white outfits and negative for dark outfits?
That rule of thumb can be helpful in certain situations. But if you decide purely by the color of the costume, the face you wanted to brighten or the delicate fabric patterns you wanted to capture might not turn out as intended.
Exposure compensation is a function used when you want an image to be brighter or darker than the brightness automatically determined by the camera. Focusing primarily on non-flash photography, let's examine how to consider the background and verify the conditions required for these settings to take effect.
Plus Brightens, Minus Darkens
In Nikon's "Lesson 10: Exposure," exposure achieved through automatic exposure metering is called "standard exposure," while the brightness desired by the photographer is called "optimal exposure." The camera's assessment and your creative vision aren't always identical.
Setting positive compensation makes the image brighter than standard exposure, while negative compensation makes it darker. Thinking in terms of "it's too dark, so I want to dial plus" makes it harder to mix up the plus and minus signs.
However, this feature does not brighten only the face. Sony's Help Guide also explains that exposure compensation adjusts the brightness of the entire image. While brightening a subject's face, keep in mind that white outfits and the background will also become brighter.
Images Can Turn Out Dark with Lots of White, or Bright with Lots of Black
Nikon explains that when a white subject occupies a large portion of the frame, the camera may judge the scene to be overly bright, resulting in a dark photograph. In an example featuring white hydrangeas, positive compensation was applied to reproduce the white faithfully.
Conversely, when dark-colored or dimly lit subjects occupy a large portion of the frame, the camera may judge the scene to be too dark and capture the shot on the brighter side. In that case, negative compensation was applied in their example.
If you take a close-up of a white costume and it looks grayish, or frame a dark costume prominently and it turns out washed out, this explanation provides a clear clue as to why.
However, "a person wearing white" is not the same as "white occupying most of the frame." Even when composing a shot that includes the background, the same compensation direction won't necessarily fit.
Changing the Background Can Mean Minus for White and Plus for Black
On Sony's αcafe, there is an example of a white stuffed toy photographed against a dark desk and chair. The explanation notes that without compensation, the white stuffed toy suffered from blown highlights, but applying negative compensation brought it closer to how it appeared in person.
Another example shows black and navy hats resting on a white sofa. Without compensation, the hats were crushed into shadow, but positive compensation made their texture discernible. However, the note adds that the white sofa became somewhat blown out.
Negative compensation for something white, and positive compensation for something dark. While this seems opposite to the earlier rule, it makes complete sense once you take the background and what you actually want to emphasize into account.
(If you rely solely on memorizing clothing colors, you run into trouble as soon as the background comes into play.)
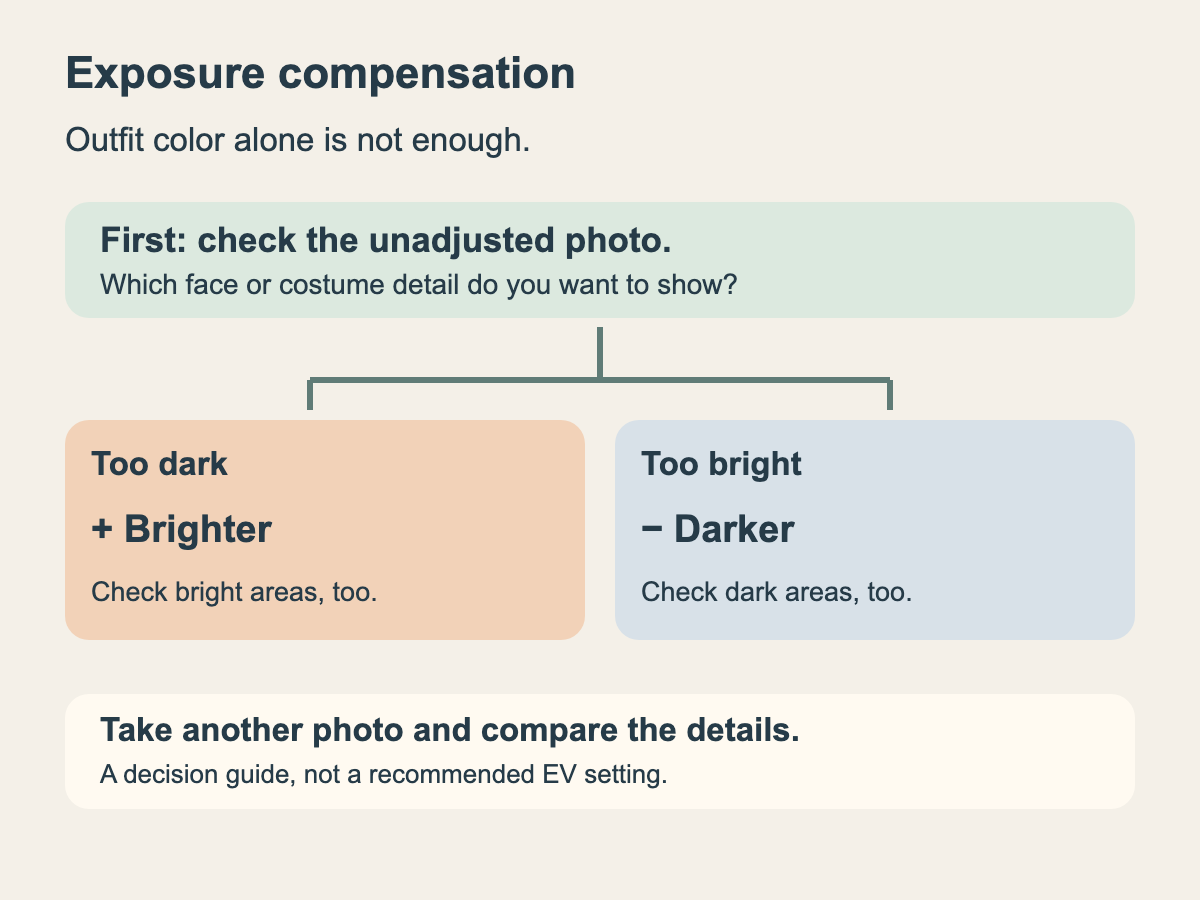
Applying this to cosplay photography: take an uncompensated test shot first, then decide which areas of the face or costume are too dark, and which are too bright. Blown highlights occur when bright areas turn completely solid white, while crushed shadows occur when details in dark areas are completely lost.
Sometimes you cannot preserve both simultaneously—brightening a face might wash out intricate white lace details, for example. Continuously cranking toward plus won't solve every issue.
When Adjusting Values Changes Nothing, Check Your Shooting Mode
Sony's αcafe introduces how to use exposure compensation in P, A, and S modes. Because operation methods and adjustable ranges vary across camera models, avoid assuming the same button or values apply to every camera.
You also cannot assume whether M (Manual) mode supports exposure compensation from its name alone. Nikon explains that when shutter speed, aperture, and ISO sensitivity are all set manually, changing the compensation value will not be reflected in the photo's brightness. When using Auto ISO, however, exposure compensation becomes possible even in M mode.
Similarly, Sony's ILME-FX2B allows exposure compensation during manual exposure only when set to ISO AUTO. On the other hand, it cannot be used in Intelligent Auto mode. These are conditions specific to that model, and do not imply that "any auto mode supports compensation."
When changing shooting locations, make sure to check your previous compensation setting as well. According to Nikon's documentation, exposure compensation remains retained even after turning off the power, and resetting it requires manually dialing it back to 0.0. Some models and modes have exceptions with automatic resets, so please verify with the manual for your specific camera.
About this article
Translated from the Japanese original. Quotes from Japanese sources are our own translations. This article summarizes exposure compensation directions, background effects, and shooting mode conditions based on official Nikon and Sony explanations and help guides. We have not conducted comparison shoots with actual costumes or model-specific operational benchmarks.
When shooting, we suggest using this workflow: inspect the uncompensated shot, adjust slightly and retake, and compare the details between the face and costume. Do not treat the exact compensation values from manufacturer examples as universal solutions for costume photography.
(Even with the same white fabric, it's always a dilemma whether you want to preserve the intricate lace patterns or aim for an airy, soft mood.)
Figure out what you want to highlight most about the cute outfit, and choose your brightness from there.
See you next time on COT❣️
Sources: Lesson 10: Exposure (Nikon) (Japanese), I Want to Photograph Subjects with the Right Brightness (Sony αcafe) (Japanese), Is Your Photo a Bit Dark? Here is an Easy Way to Brighten It! (Nikon) (Japanese), ILME-FX2B Help Guide: Exposure Comp. (Still Image / Movie) (Sony) (Japanese)