
GM, COT❣️ Yuzunoko here.
When applying fusible interfacing to costume collars or plackets, how do you move your iron?
Gliding it smoothly over the fabric as if smoothing out wrinkles. With fusible interfacing, that kind of movement can cause warping or twisting.
The application guide published by fabric retailer nunocoto fabric introduces a method of pressing the iron down flat, then lifting it to move to the next spot. Along with temperature, let’s look at how to press it and how long to leave it alone afterward.
Fusible Interfacing Is Applied by Melting Adhesive with Heat
Iron-on interfacing is applied to fabric by melting its attached adhesive with the heat of an iron. The lightweight soft garment interfacing that nunocoto fabric uses in its guide lists shirt plackets, collars, and sleeve cuffs among its uses in the product description.
It can also be an option for these parts of a cosplay costume. However, do not assume it can be used directly on the fabric at hand just because the product says "iron-on." First, check the interfacing's instructions and the allowable temperature for the fabric you are applying it to.
This article recommends testing on small scraps of the same fabric and interfacing before applying it to the actual costume. This is not only to see whether it bonds, but also to observe whether any changes appear on the right side and whether it achieves the desired texture.
(It is best to avoid finishing the collar only to think, "This isn't how I imagined it," if at all possible.)
What Materials Are "Intermediate Temperature and 10 Seconds" Examples For?
In nunocoto fabric's guide, after noting that temperature varies depending on the fabric used, it specifies intermediate temperature and dry heat for cotton materials. It explains that while the adhesive must be melted sufficiently, excessively high heat can melt the interfacing, whereas low heat will fail to bond.
Okadaya's "How to Apply Fusible Interfacing" also suggests an intermediate temperature of roughly 140–160°C for household irons. The explanation states that application should be done with dry heat, as steam or mist can alter the materials and prevent a clean bond.
These are reference guidelines introduced by the source materials. They are not universal settings common to all costume fabrics and interfacings. When a fabric's allowable temperature and an interfacing's bonding conditions do not align, avoid forcing the temperature higher.
The same applies to pressing duration. nunocoto fabric presses the interfacing used in its guide for about 10 seconds per spot. Do not simply carry over this number of seconds to another product; check the specifications of the interfacing you are using first.
Check the Orientation, Then Press and Lift
Before applying, remove any loose threads or dust trapped between the fabric and interfacing. The guide also cautions that threads of a different color from the fabric can stand out noticeably if caught in between.
Next is the adhesive side. For the interfacing used by nunocoto fabric, the side that sparkles and feels rough to the touch is the adhesive surface. Face that side toward the fabric. If reversed, adhesive will stick to the iron, so verify the orientation on your own product as well.
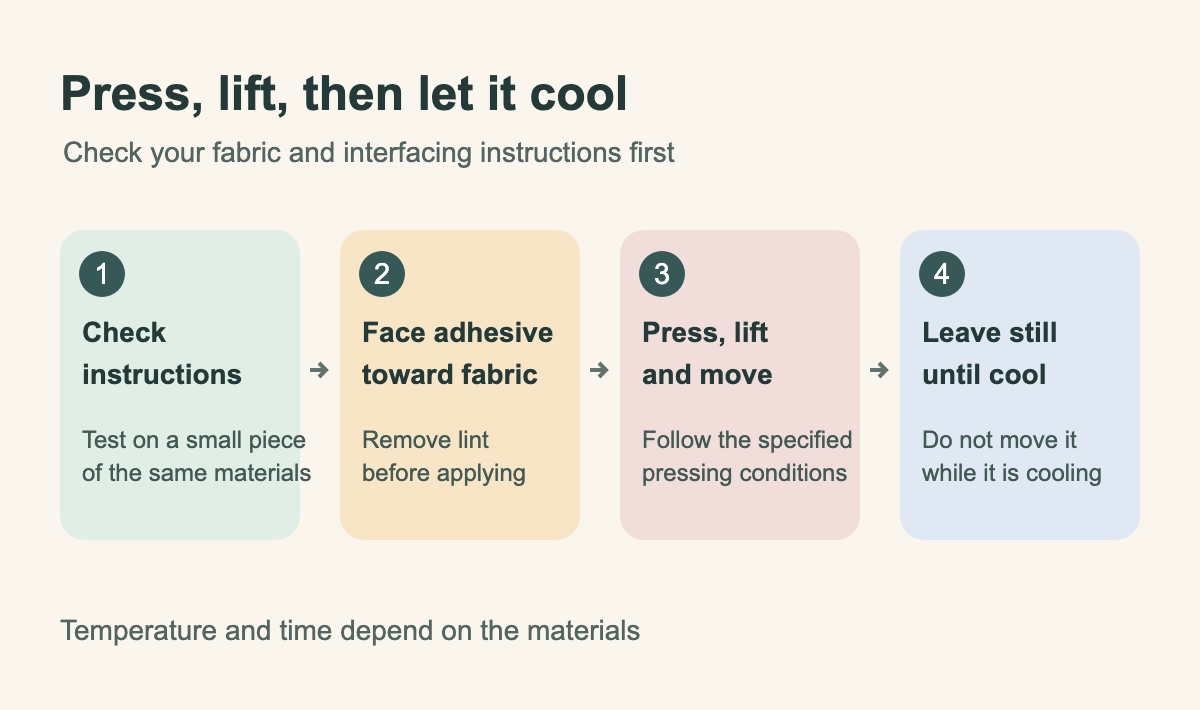
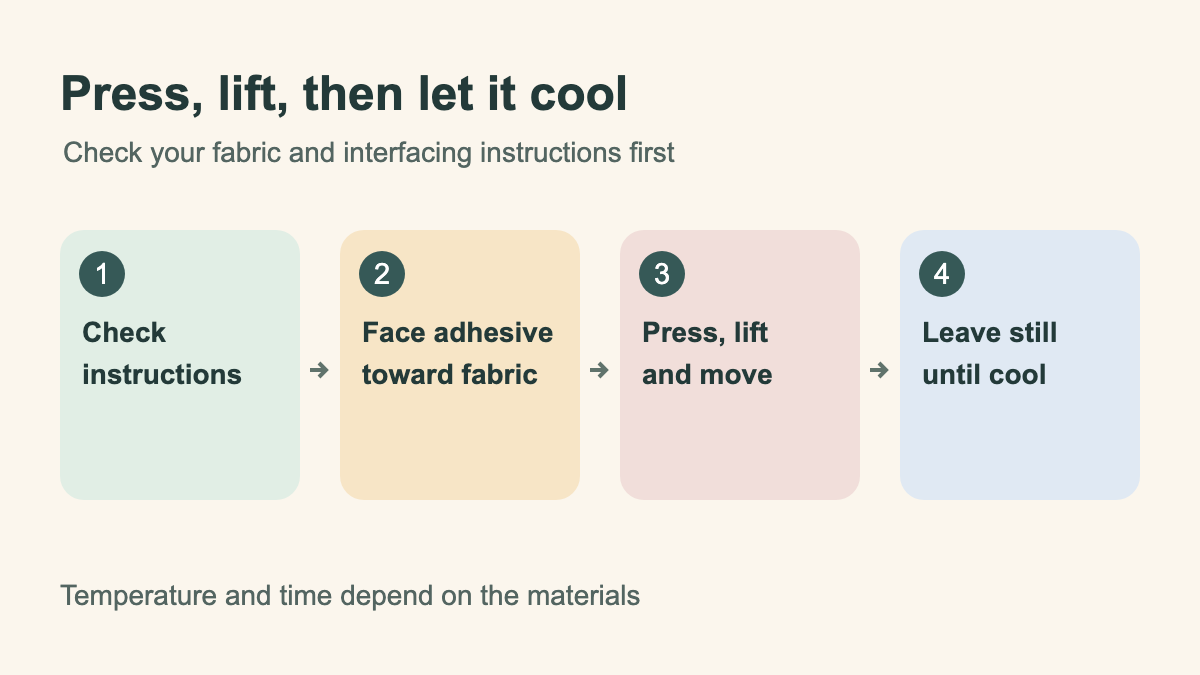
nunocoto fabric's procedure involves pressing the soleplate of the iron down flat and applying pressure spot by spot so that no gaps are left. Because sliding causes warping, lift the iron before moving it.
Before thinking "it should stick if I just make it hotter," verify the specified conditions, the orientation of the adhesive side, and whether it is being pressed flat. Reviewing in that sequence keeps you from relying solely on temperature.
Right After Pressing, Wait Without Peeling
Even if you are curious whether it bonded, hold back from immediately lifting the fabric or peeling back the interfacing.
According to nunocoto fabric's guide, moving it before the heat-melted adhesive has solidified can cause it to peel off. Once applied, waiting untouched until it has cooled is an integral step in the process.
(The urge to check if it stuck coincides right with the moment when it is best left untouched.)
Check the finish of your test patch after it cools down, then move on to the actual garment. Whether for a cute collar or sharp cuffs, let's start by verifying with scraps before the final press❣️
About This Article
This article was compiled based on nunocoto fabric's fusible interfacing usage guide and product description, as well as Okadaya's craft guide. Translated from the Japanese original. Please follow the instructions for your specific fabric and interfacing regarding temperature, pressure, duration, and steam handling. This does not guarantee adhesion or finish on specific materials.
See you next time on COT❣️
Sources: [Only 2 Key Points!] Basic Way to Apply Fusible Interfacing (nunocoto fabric) (Japanese), Fusible Interfacing (Iron-on / Lightweight Soft Type / Polyester) Garment Interfacing 122cm Width (nunocoto fabric) (Japanese), Handmade Textbook: How to Apply Fusible Interfacing (Okadaya) (Japanese)